
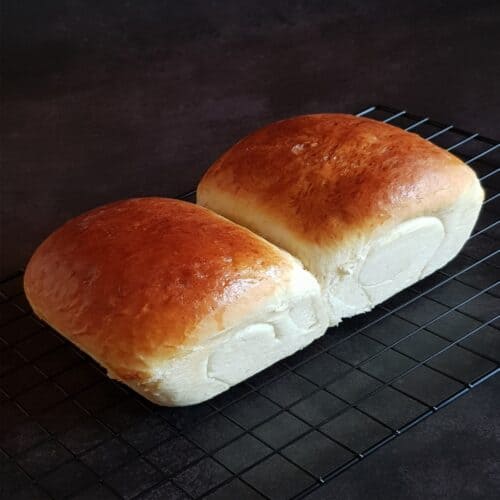
The herb-garlic butter-infused dough is perfectly baked until golden brown and served pull-apart style. It is flaky, flavourful, and truly irresistible. I bet it is going to be your favourite pull-apart bread ever.

Pull Apart Bread with Herb Garlic Butter is a delicious combination of savoury goodness you can’t resist. It has a deliciously crunchy crust and is moist and soft inside. As the name says, it’s easy to split the bread and enjoy it as it is.
Why’ll love the recipe
This recipe is so easy, and with just a few basic bread ingredients and some kneading and shaping skills, you can make homemade pull-apart bread to enjoy with your family and friends. The satisfying tearing and sharing of this bread make it a fun recipe to try, especially with kids. Get started in your kitchen and make pull-apart bread from scratch today.
Ingredients for Easy Herb Garlic Pull Apart Bread
The measurements are given below in the recipe card. There are two tabs. One is the US cup, and the other is Metric measurements. Do click the tab according to your preference.
- all-purpose flour
- yeast
- milk
- butter
- garlic
- mint
How do you know if yeast is alive?
Firstly, before starting to make the bread, activate the yeast. Add lukewarm milk to a bowl with measured sugar and yeast. Wait for ten minutes. A healthy, activated yeast will pop to the top and bubble as in the picture. Do not skip this.

Step-by-step instruction of how to make herb garlic bread
In the bowl of a stand mixer fitted with a dough hook, add all-purpose flour, sugar, and salt and mix with a spatula. To it, add the bloomed yeast and mix on medium speed until it mixes well.

Then add 1 cup of whole milk to the flour mixture and run the stand mixer for five to six minutes. Now switch off the power. Scrape the dough from all sides until the dough mixture combines well.
Add a teaspoon of unsalted room-temperature butter and start kneading on high speed for four to five minutes.


Window Pane Test
You can see the smooth, soft, shiny dough is ready. The best and easiest way to check if the dough is ready is by Window Pane testing.
If you can stretch the dough without it breaking, that means the gluten is well developed and your dough is ready to use.

Place the dough in a well-greased bowl and grease the top, and cover it with a kitchen towel or cling wrap and let it prove. It almost takes one and a half hours to two hours until it rises double in size.

Meanwhile, prepare herb garlic butter spread for the dough.

Chop garlic into small pieces and add chopped mint. Now add salt and soft butter and mix well to a spread consistency.


Allow the dough to rise for 11/2 to 2 hours or until it double in size. Punch down the dough to deflate the air.

Transfer the risen dough onto the dusted silicon mat or a clean kitchen counter.

Roll the dough flat to a rectangle or square shape to the width size of the loaf tin. Just place the loaf tin as shown in the picture. Now spread the herb garlic butter throughout the dough.


Roll the herb garlic butter-smeared dough gently to a log shape and seal well. Cut the log into equal slices as shown.


Stack the cut slices into the loaf tin tightly. Cover the pan for a second rise until it rises doubled in size.

After the second proof, apply milk wash to the top layer.

Preheat oven to 180°C. Bake for 30 minutes (I baked in Microwave Convection mode), then remove the loaf tin from the oven and brush the top of the bread with melted butter.

Allow the pan to cool for only 10 minutes. Gently run a knife around the edges to loosen the pull-apart bread, turn it out, and cool it completely.

How to pull-apart the bread?
Once the bread is cooled, you can start tearing it apart. Gently pull or twist one end of the loaf to separate a chunk. From there, tear pieces off one at a time, pulling the bread apart in the opposite direction of the grain. This prevents the bread from tearing into too many small pieces.

Serving Suggestions For Herb Garlic Pull Apart Bread
Once you’ve pulled apart as many slices as you need, enjoy the warm, fresh bread with your favourite spread (if you really need it). I have it as it is, as it is already smeared with herb-garlic butter. The aroma and texture of bread pulled apart right from the loaf are hard to beat, and I bet the full loaf vanishes within a few minutes.
Variations
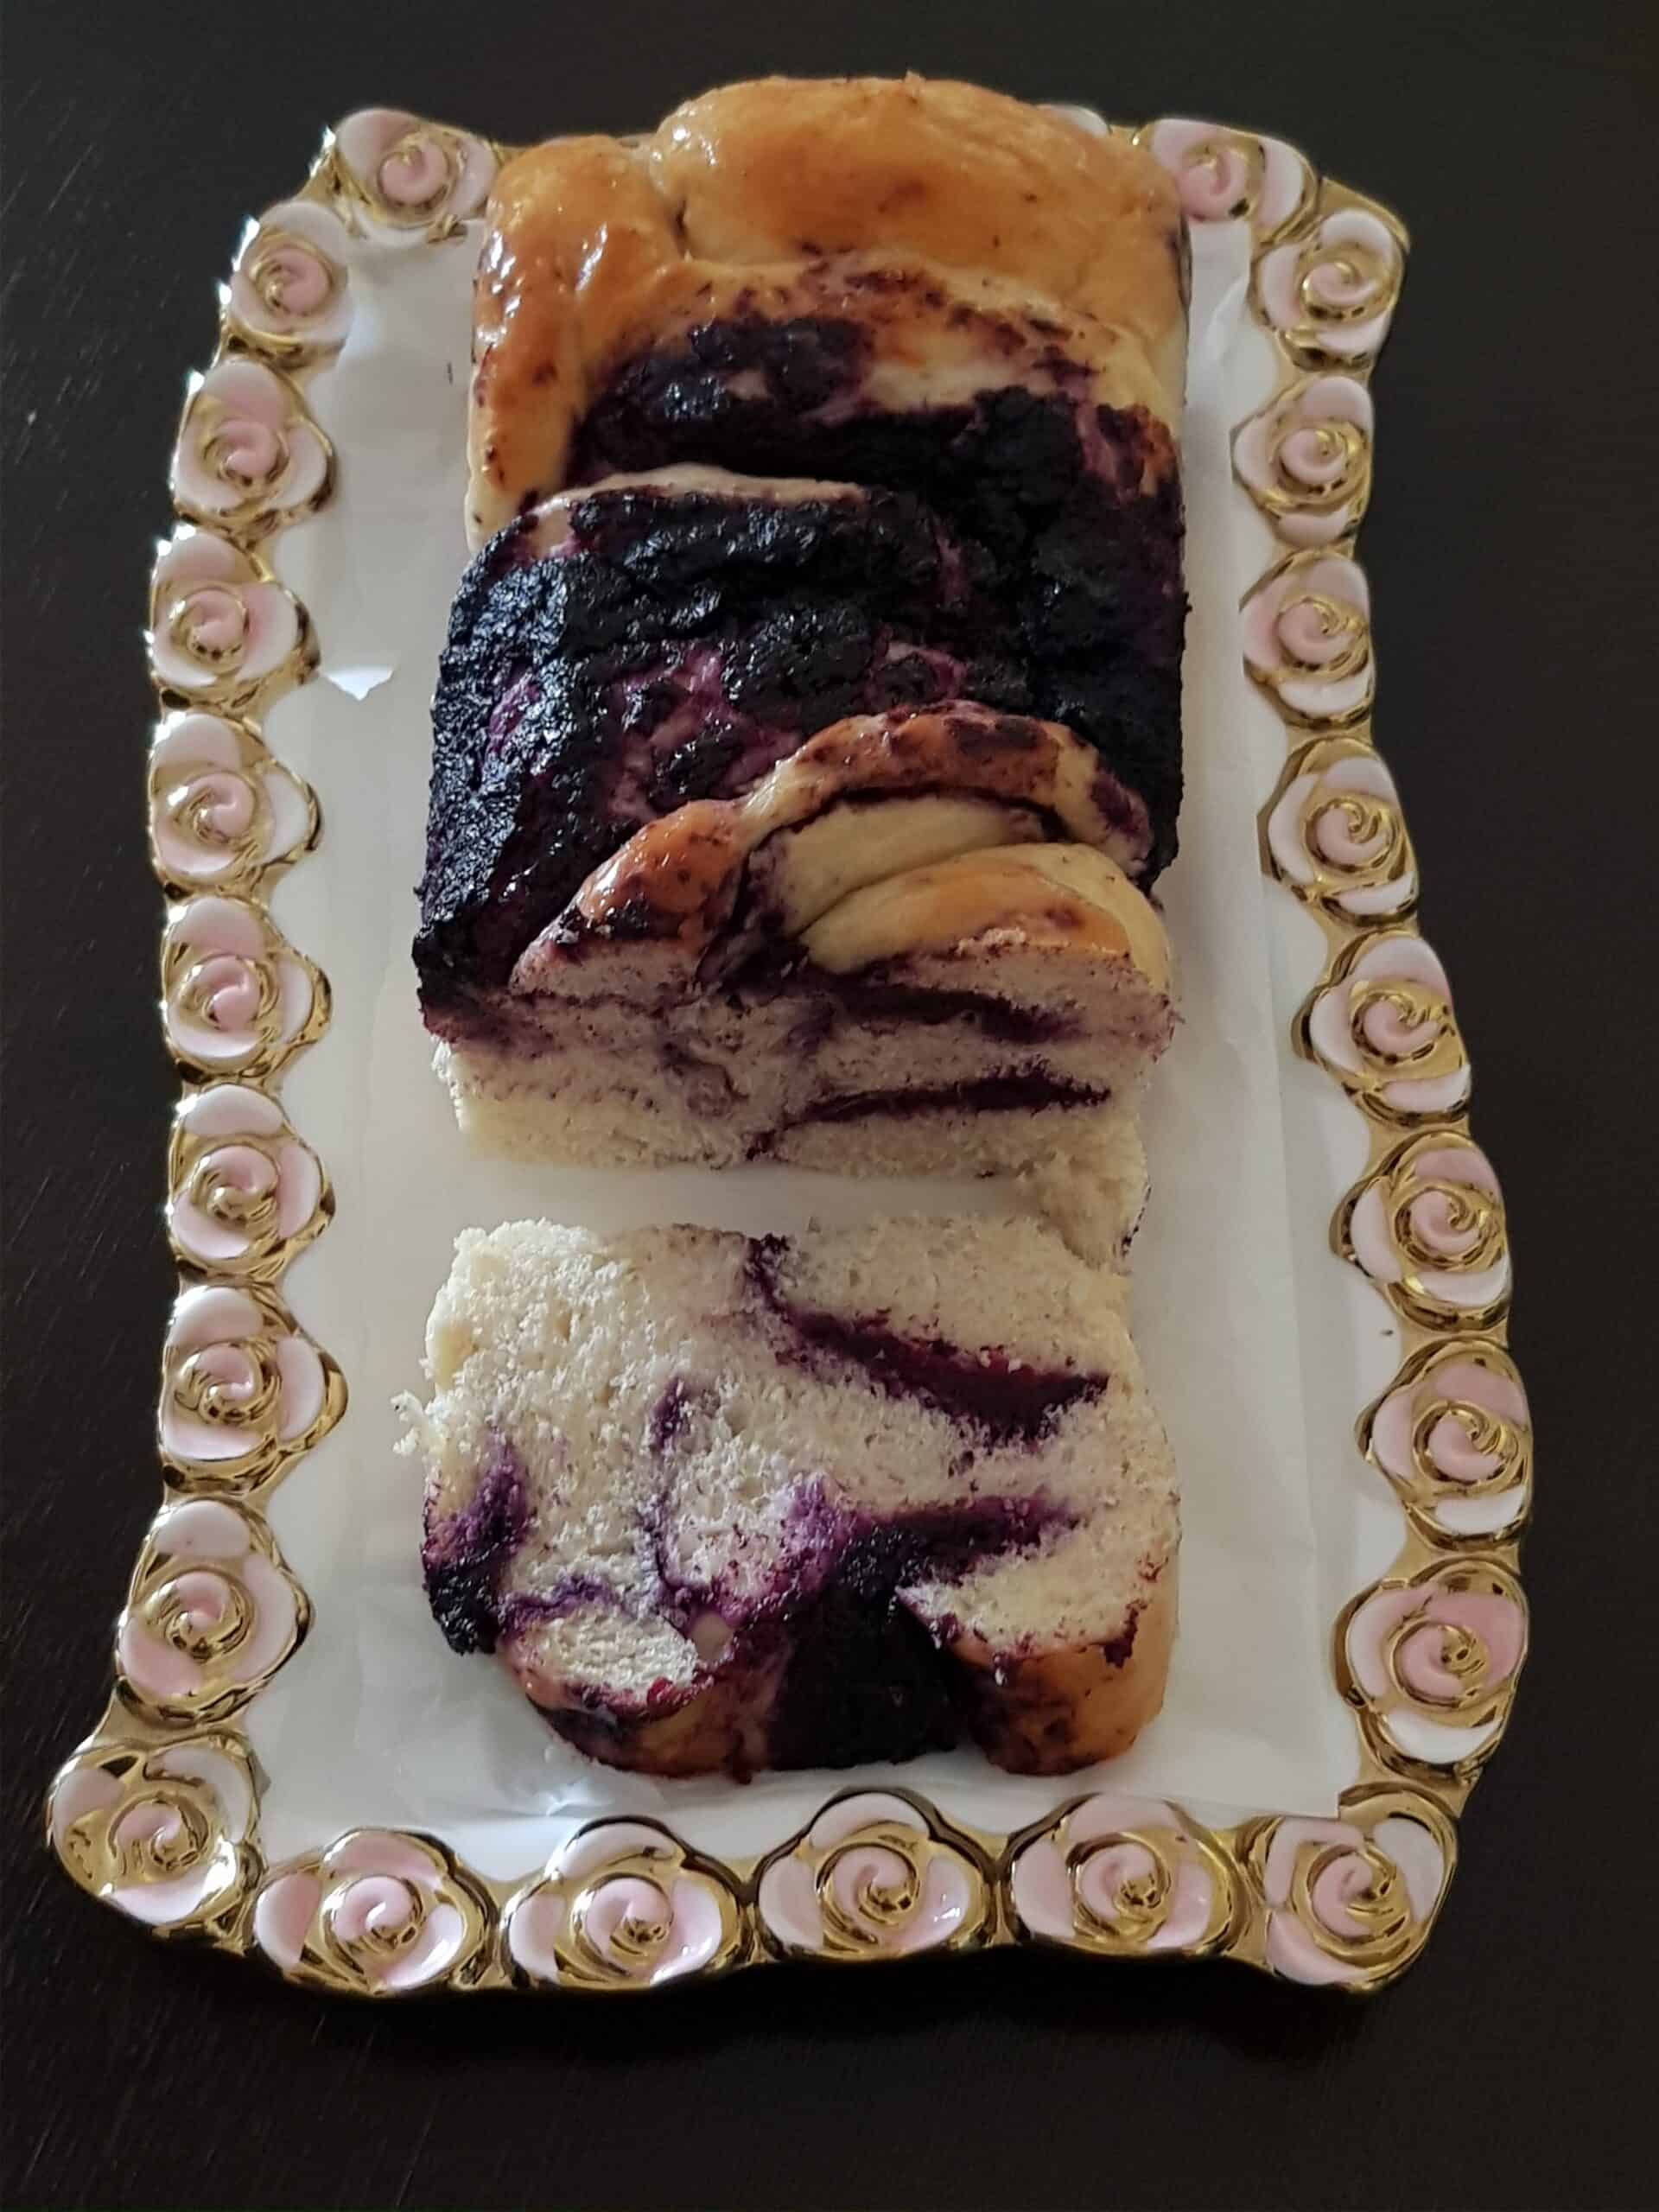
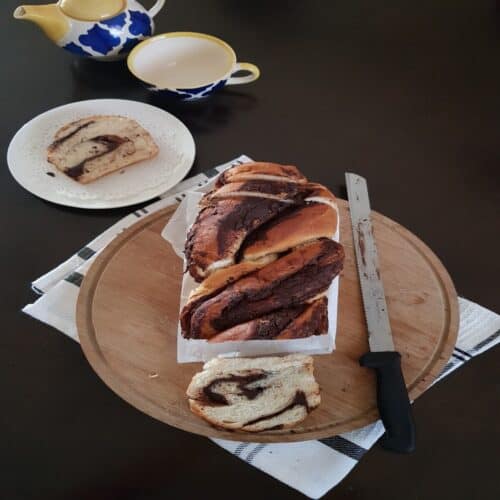
You can pair butter with any herb. I chose mint because it is my favorite. Secondly, Italian herbs like rosemary, thyme, etc go well with butter. Also, cheese and herbs are the perfect combo. However, these are the basic savory pull-apart bread variations. Finally, for making sweet pull-apart bread, any flavored jam with cream cheese goes well too.
Some Bread Recipes You May Like To Try
Sweet Buttermilk Bread /Eggless Bread
Whole Wheat Bread/ Eggless Bread
Eggless Dried Fruit Bread Recipe
Eggless Butterless Banana Bread
If you make this recipe, please let me know what you think! I would appreciate you leaving a star rating and comment below, which means a lot to me. Happy Baking!
Recipe Card 👇

Easy Herb Garlic Pull Apart Bread From Scratch
Ingredients
- 3 cups all-purpose flour
- 1¼ cup milk ( ¼ cup lukewarm milk for blooming yeast )
- 1½ teaspoon instant yeast
- 2 teaspoon sugar ( add 1 teaspoon in milk for blooming yeast and 1 teaspoon in the flour mixture )
- ½ teaspoon salt
For making herb garlic butter
- 3 tablespoon unsalted butter ( softened butter )
- 10 cloves garlic cloves ( chopped )
- 3 sprigs mint leaves
Instructions
- Firstly, before starting to make the bread, activate the yeast. Add lukewarm milk to a bowl with measured sugar and yeast. Wait for ten minutes. A healthy, activated yeast will pop to the top and bubble as in the picture. Do not skip this.

- In the bowl of a stand mixer fitted with a dough hook, add all-purpose flour, sugar, and salt and mix with a spatula. To it, add the bloomed yeast and mix on medium speed until it mixes well.
- Then add 1 cup of whole milk to the flour mixture and run the stand mixer for five to six minutes. Now switch off the power. Scrape the dough from all sides until the dough mixture combines well.
- Add a teaspoon of unsalted room-temperature butter and start kneading on high speed for four to five minutes.
- If you can stretch the dough without it breaking, that means the gluten is well developed and your dough is ready to use.
- Place the dough in a well-greased bowl and grease the top, and cover it with a kitchen towel or cling wrap and let it prove. It almost takes one and a half hours to two hours until it rises double in size.
- Chop garlic into small pieces and add chopped mint. Now add salt and soft butter and mix well to a spread consistency. Keep it aside.
- Allow the dough to rise for 11/2 to 2 hours or until it double in size. Punch down the dough to deflate the air.
- Transfer the risen dough onto the dusted silicon mat or a clean kitchen counter.
- Roll the dough flat to a rectangle or square shape to the width size of the loaf tin. Just place the loaf tin as shown in the picture. Now spread the herb garlic butter throughout the dough.
- Roll the herb garlic butter-smeared dough gently to a log shape and seal well. Cut the log into equal slices as shown.
- Stack the cut slices into the loaf tin tightly. Cover the pan for a second rise until it rises doubled in size.
- After the second proof, apply milk wash to the top layer.
- Preheat oven to 180°C. Bake for 30 minutes (I baked in Microwave Convection mode), then remove the loaf tin from the oven and brush the top of the bread with melted butter.
- Allow the pan to cool for only 10 minutes. Gently run a knife around the edges to loosen the pull-apart bread, turn it out, and cool it completely.

- Once the bread is cooled, you can start tearing it apart. Gently pull or twist one end of the loaf to separate a chunk. From there, tear pieces off one at a time, pulling the bread apart in the opposite direction of the grain. This prevents the bread from tearing into too many small pieces. Enjoy with cup of your favourite beverages.


Nutrition

Leander Fernandes
Beautiful and that herbs and garlic giving this bread an awesome flavour
JAYANTHY
Thank you so much! Do try and let me know your feedback.